Pages

Showing posts with label 3D Projects. Show all posts

Monday, October 15, 2012

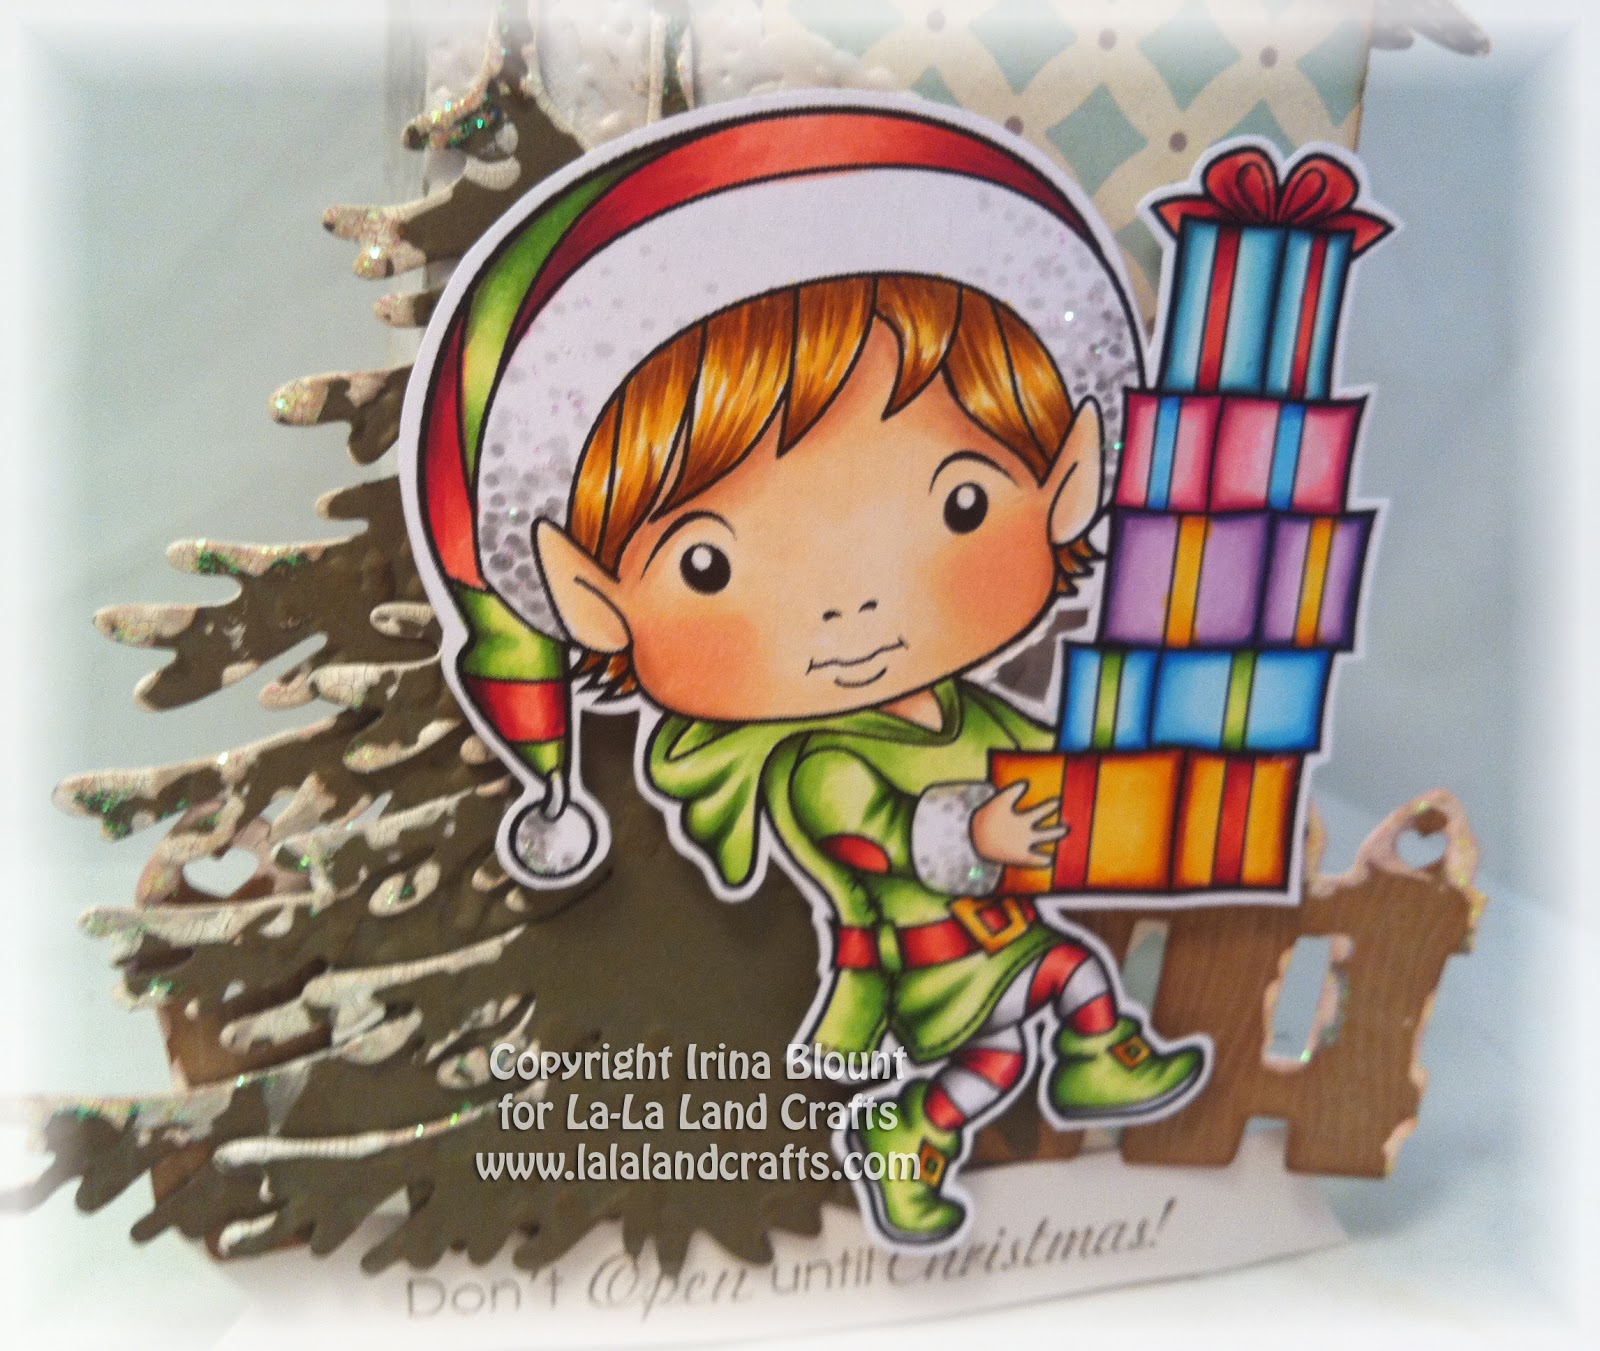
Don't open until Christmas!


If you are coming to any of our events listed below, you will get to make this Milk Carton/Gift Box along with other projects:

Sunday, October 21st, 2012
Boxes Class at Scrap Happy in Tiffin, Ohio
click HERE for more information

Saturday, November 3rd, 2012
Workshop at Andie's Scrapbooking in Bakersfield, CA
please call the store at 661-831-2766 for more information and to sign up

Saturday, November 10th, 2012
Copic Project Workshop at Katie's World in Stockton, CA
please call the store at 209- 931-8131 for more information and to sign up

Sunday, December 2nd, 2012
Workshop in San Jose, CA
click HERE for more information

My project features these products from La-La Land Crafts:

Stamps - Christmas Elf Luka, Sentiment from Christmas Present Luka
Dies - Christmas Tree, Heart Fence, Rolled Rose Large, Rolled Rose Small and Large Flourish

 
All layers of my Milk Carton Gift Box were inked with Vintage Photo distress ink.


I applied Crackle Paint in Picket Fence to the Christmas Trees, Fence and the roof of my box. 


I added Crystal Stickles over the paint and to the rolled roses.
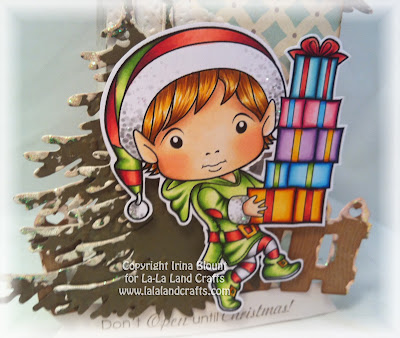
Christmas Elf Luka was colored with Copics:
Skin - E00, E01, E11, E13
Blush - R30,
R20, R21
Hair - YR20, YR21, YR24, E57
All Red - R22, R24, R27, R29, R59
All Green - YG03, YG25, YG17, YG00, YG97
All White - W1, W3
Aqua Present - BG11, BG53, BG57, BG75
Pink Present - RV10, RV11, RV13, RV14, RV19
Purple Present - V01, V12, V15, V17, BV08
Blue Present - B000, B00, B01, B05, B45
Yellow Present - Y15, Y17, Y35, Y38, YR14

 
Hugs!

Thursday, September 13, 2012

Lil' Devil Marci - Trick or Treat Box PLUS Tutorial!


 Here is my first project with a few products from our NEW September Release!  I designed a little Halloween Treat Box.  This is the same style box as I posted HERE.  As you can see, it's very versatile!

Here are simple instructions for my Treat Box:

1. Score a piece of 4" x 12" cardstock at 5 1/4" on each side and fold.  This is your base.


2. Score a piece of 4" x 6" cardstock at 1 1/4" on each side.  Cut on the scored lines as shown:


3. Make a box.


4. Attach the box inside of the base.


- Embellish front as desired.
- Punch a hole and insert the ribbon.
- DONE!  Easy peasy!!!

I used our Lil' Devil Marci for the front of my box.  She is all dressed up and ready for Halloween!  Sentiment is one of the accessory stamps included with Lil' Devil Marci.

I also used our NEW Frightful Fence and Eerie Bats Dies.  Love them both!

I cut the Frightful Fence in two pieces and layered it behind the "hill".


Lil' Devil Marci was colored with Copics:
Skin - E00, E01, E11, E13
Blush - R20, R30, R21
Hair - E02, E08, E17, E18, RV69
Outfit - RV52, RV55, RV66, RV69
Boots - C1, C3, C5, C7, C9

Hugs!!!

Wednesday, August 22, 2012

Have a Wonderful day!


Have a Wonderful day! 

I designed this little Gift Box with one of the stamps from our last release - Bath Time Marci!  This gift box measures 4" x 5 1/2" and is perfect for a small gift for someone special.  Sentiment is from our Garden Bench stamp.

I also used Large Flourish Die and one of the Butterfly dies from our Butterfly Set.


Bath Time Marci was colored with Copics:

Skin - E00, E93, E11, E13
Blush - R20, R30
Hair - YR20, YR31, YR23, YR24
Tub - BG000, BG10, BG72
Tub Trim and Legs - E50, E51, E53, E55, E57
Duck - Y32, Y35, Y38, YR24 / YR16, YR18
Towel - Y32, Y35, Y38 / YR16, YR18

Hugs!!!

Wednesday, August 15, 2012

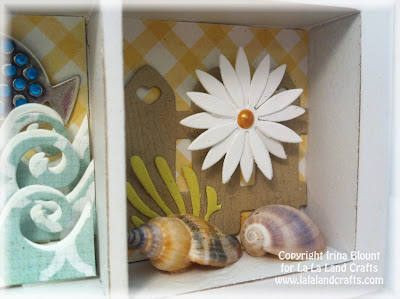
Fun at the Beach Shadow Box


I love making projects as much as I love making cards!  It's good to do something different for a change ;-) 

It was so much fun making it!!!  

This little 6" x 6" shadow box is filled in with tons of different goodies:

~ Palm Tree Die (to make foliage) ~
~ Water Lily Die (to make a daisy) ~


Copics:
Skin - E00, E01, E11, E13
Blush - E02

Hair - E51, E53, E55
Shirt - Y21, Y23, Y38, YR25 
Shorts - B41, B34, B37
Bucket - R22, R24, R27
Sandcastle - E11, E13, E25

Hugs!!!

Tuesday, August 7, 2012

Believe in Magic! {Altered Canvas}


Ever since we created our Daisy Faerie Marci stamp, I had an idea of making an Altered Canvas with her and I wanted it to look magical!  Not sure how magical my Canvas is, but I really, really, really enjoyed making it and I really, really, really love how it came out!

I painted canvas with acrylic paints in pink, yellow and white and then added some blue and green with bubble wrap.  I cut a doily in half for two corners, and misted it with shimmery glimmer.

Daisy Marci is resting on the Whimsy Mushroom.  Isn't she the CUTEST?!!  Oh, and did you notice those little mushrooms?  They are included with the Whimsy Mushroom stamp!

Daisies are made using our Water Lily Die.  I die cut four sets of flowers and it allowed me to make eight pretty daisies in four different sizes!  Viva Peal pen in Yellow for the centers.  Just perfect!

All the gorgeous leaves are cut from our Large Flourish Die.  I die cut four flourishes, two from green cardstock and two from dotted paper with glitter from Best Creations.

Heart Fence, Butterfly and Rolled Roses (Small&Medium and Large) are our Dies too!

I stamped the words in the sentiment (comes with Daisy Faerie Marci) separately on the ivory cardstock and outlined them with Memento Marker, then cut out.

This Altered Canvas is one of the projects for my upcoming WORKSHOP at Andie's Scrapbooking store in Bakersfield, CA.

When: Saturday, August 11th
10 am to 6 pm

We will also make a Trinket Box, a Gift Box and a few Cards at the Workshop!
It's a FULL day of CRAFTING FUN!

If you would like to attend, please call the store at 661-831-2766 for details and to sign up.
Please call soon, there are only a few spots available!!!


 Images colored with Copic Markers.

Daisy Faerie Marci:
Skin - E00, E95, E11, E23
Blush - R20, R30
Hair - B00, B12, B14, B37
Yellow - Y32, Y35, YR24
Green - YG01, YG03, YG63
Blue - B00

Mushrooms:
R20, R21, R24, R27
E51, E53, E55


Hugs!!!

Sunday, April 15, 2012

Life is a Journey!


I am so excited about this project!!  I've designed my very own shapes for the pages for this album in my Silhouette!  It is ALL CUSTOM MADE!  I had so much FUN, seriously!  I know I will be doing it again! 

This album has a lot of uses with the sentiment "Life is a Journey".  It can be used for the travel photos and journaling, and/or for any LIFE occasion.

This album features one of our newly released stamps, this is Travel Marci!  LOOOOVE her!!  Paper from Graphic 45.

This is one of the projects for my APRIL Workshop.
To see other projects in this Workshop, please click HERE

APRIL Workshop is scheduled for:
Sunday, April 29th
10 am to 6 pm
in the Crop Room at Scrapbook Island in San Jose, CA

This Workshop is by invitation only.  If you would like to attend but did not receive an Evite invitation from me, please email me at irina_ca@msn.com and I will add you to my email list.

This album is pretty big!  It's about 8" long, 6 1/2' wide and 1 1/4" tall. There are 8 pages in this album PLUS a pocket with a postcard!   I used my Cinch to bind the album. 

Here are the photos of the front, back and some of pages in this album.  I know I say that a lot, but it really does look better in real life!!


Hugs!!